The Beautiful Art of Découpage
Decoupage is the process of layering paper to make art and can be done on any surface: wood, metallic, cardboard, mirrors, anything almost. Mostly it is a small item like a box or a piece of furniture covered by cutouts from magazines, from wallpaper or from printed images. Each layer is sealed with varnishes (often multiple coats). Sometimes the work can be so detailed it could have 30 to 40 coats of varnish and transform something drab into something stunning. It was made famous in part to the artist Henri Matisse.
The word decoupage comes from the French word “découper“, meaning to cut out or cut from something. Decoupage originated in Eastern Siberia in the form of tomb art, where nomadic peoples used cut out felts to decorate the tombs of their deceased. From Siberia, the practice the moved to China, and by the 12th century, cut out paper was being used to decorate lanterns, windows, boxes and other objects. In the 17th century, Italy, especially Venice, was at the forefront of trade with the Far East and it is generally thought that it is through these trade links that the cut-out paper decorations made their way into Europe.
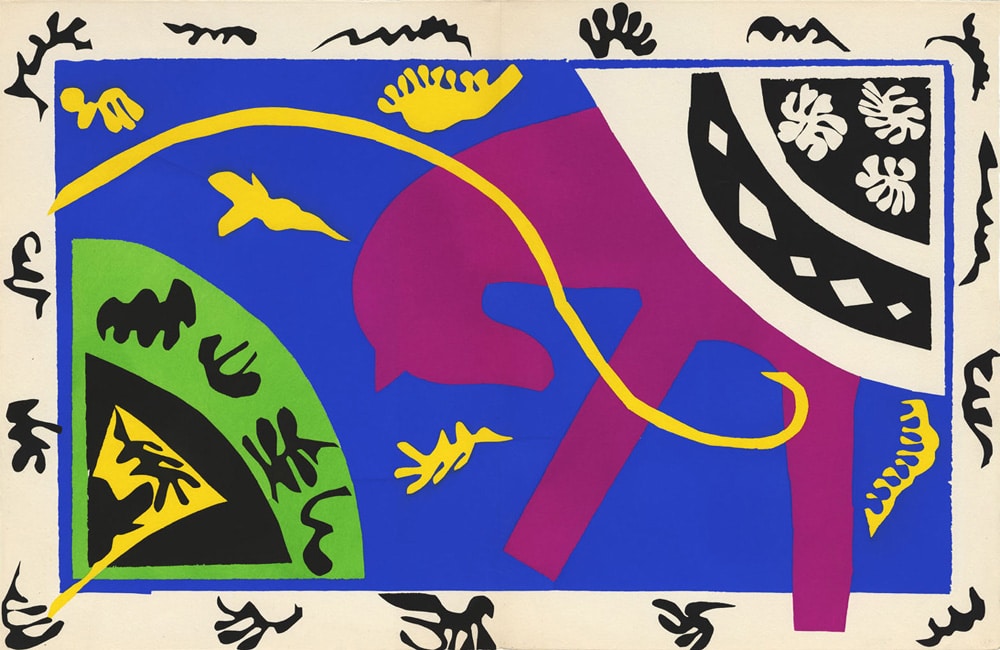
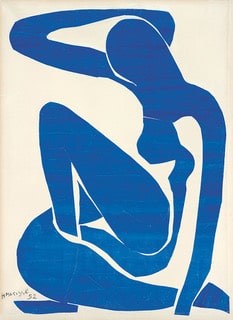
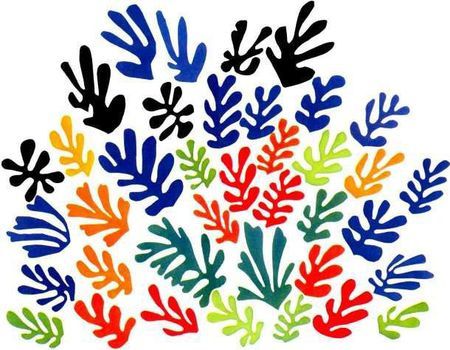
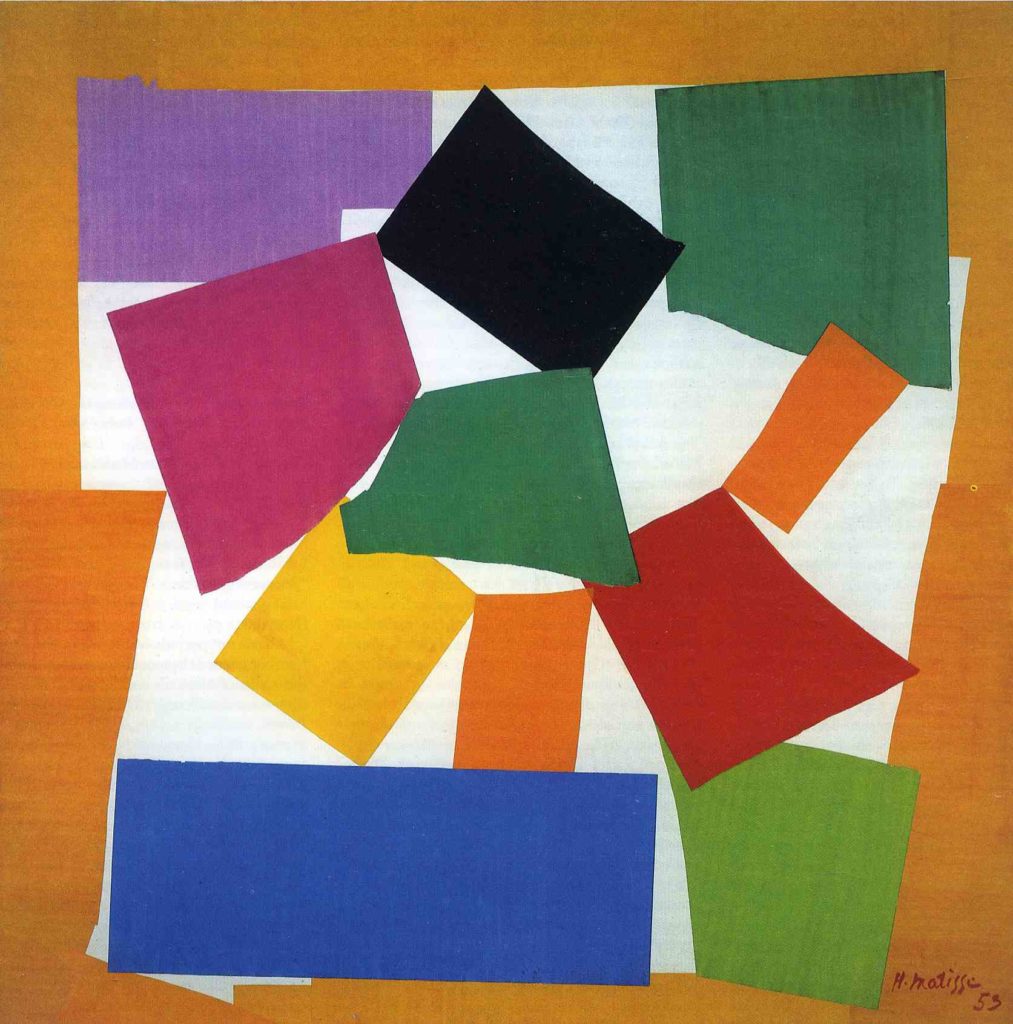
By the late 17th century, oriental lacquer work furniture from the Far East became fashionable in Europe, and Venetian cabinet-makers began to employ the technique using cut-out and pasted motifs covered in varnish as copies of the lacquer work. There were many prominent supporters of this art, including the Queen Marie Antoinette, Madame de Pompadour, Lord Byron and Beau Brummell, a famous dandy in the Regency era of Great Britain. Decoupage was also found later in the works by Pablo Picasso and, perhaps most famously of all, Henri Matisse. By the late Forties, when he was no longer able to paint, Matisse turned almost exclusively to cut paper as his primary medium. Together with his studio assistants he created a whole other collection of fantastic work in both decoupage and collage. The Museum of Modern Art in New York city held an exhibition showcasing Matisse’s work. You can see the article here. I also have a lovely side story about Matisse. We had the unbelievable pleasure of staying in his old apartment in Nice, which overlooked the Mediterranean. The views were stupendous and changed every hour from the affects of the sun and sea. The apartment is available for vacation rentals on AirBnb.

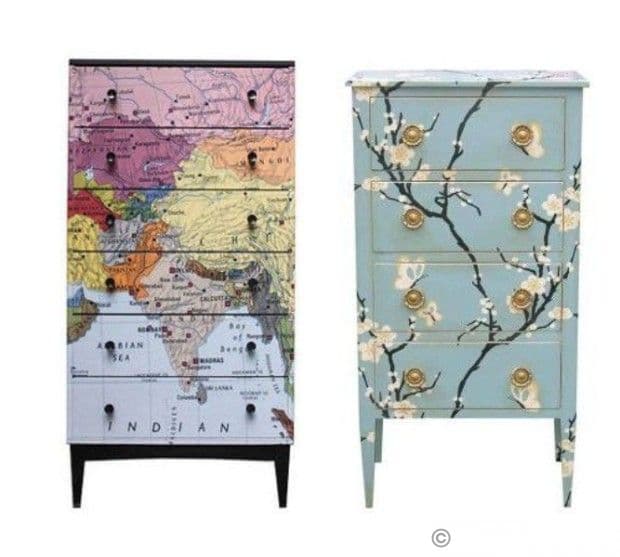
In the 1920s, French Art Deco designer Jean-Michel Frank used decoupage on some of his earliest Parsons tables (modernist square tables whose legs are aligned with the table edge). Later, decoupage was revived in the North America in the 1960s, as a popular decoration for boxes, trays, wastebaskets, lampshades, chests of drawers, and mirrors. Look at some of these projects that can transform what some might consider junk into fabulous unique pieces of art. I personally love the old school chair (below) or the world map dresser, repurposed with an updated designed and colour.


In these times it is important to find thing to do that bring you calm and joy. Decoupaging is the calming experience we are all looking for these days. Akin to colouring, it helps release tension by getting the mind to focus on smaller things. Once you are done you will not only be a little calmer, you will also have a fabulous item to add to your home decor or to give as gift boxes.
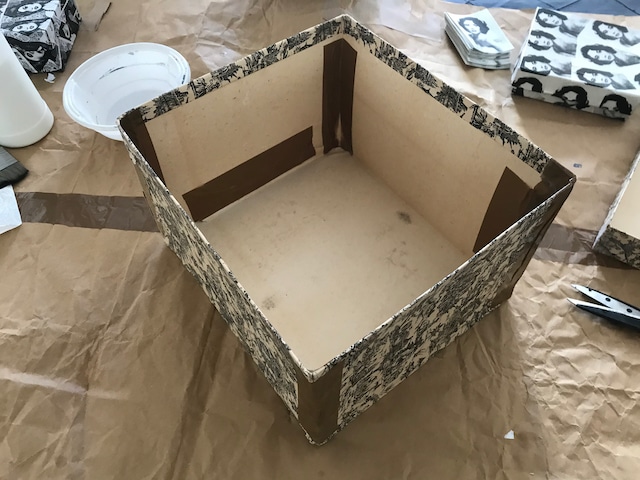
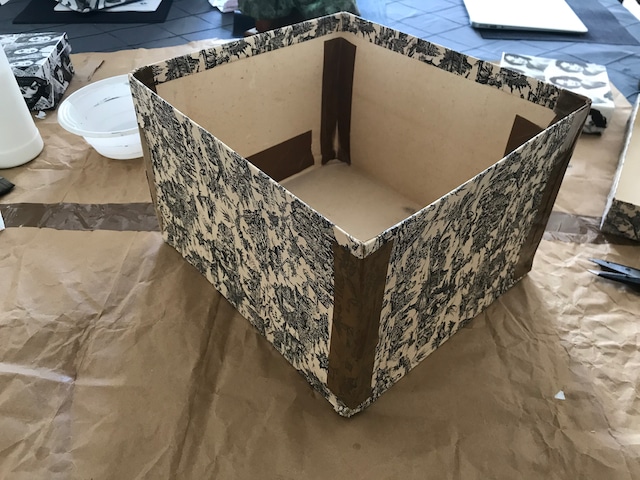
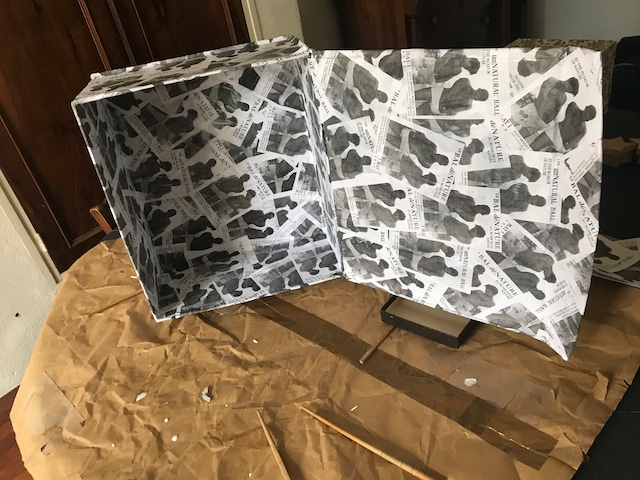
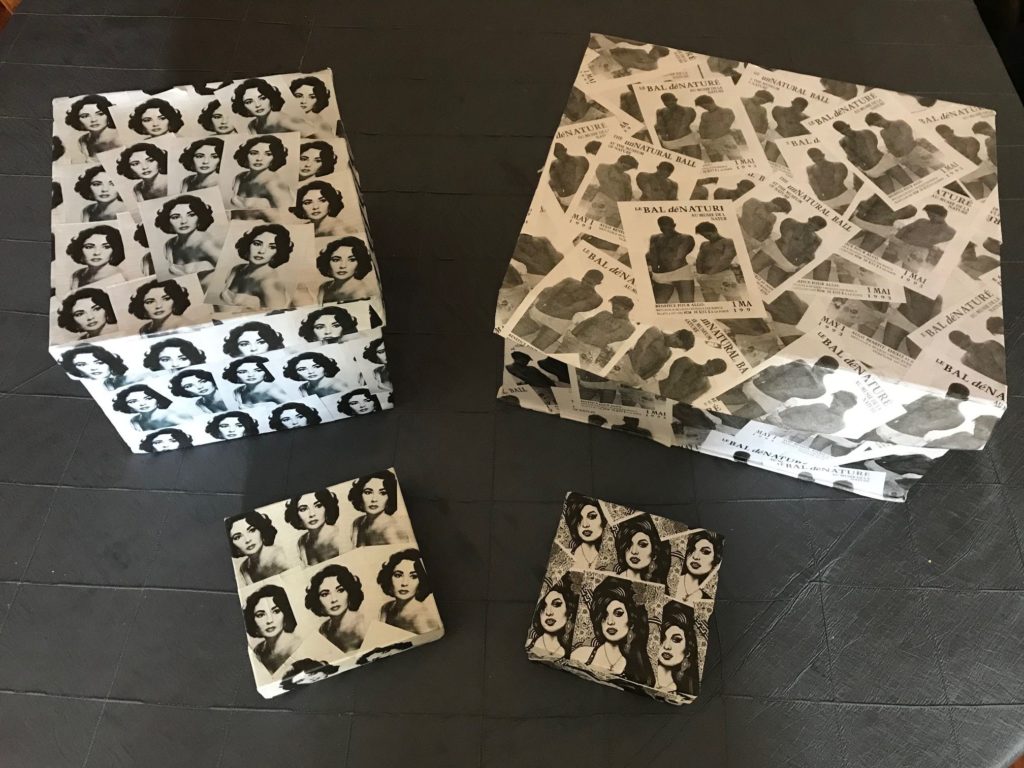
In the past few weeks, I have transformed four boxes using decoupage. One was a large flowered bright colour box that a friend used to ship a care package to me from Canada. It was big, sturdy and the perfect place to hold some of our family photos. The second two boxes were smaller boxes that I had just lying around the house. And finally, the fourth box I decoupaged was a weathered and falling apart old box from my belle-mère that was on the verge of being garbage. With some tape and the decoupage paper, I was able to repurpose this box to hold keepsakes.
List of Things You Will Need
- An item to decoupage. I recommend boxes, frames, mirrors, or a piece of wood furniture.
- Glue. Regular white glue is fine, you could add water to make it more like paint. If you don’t have that, use a combination of flour and water (50/50), and mix well to remove any lumps. Add more water if it is too thick.
- Water
- Brush
- Clean rags to wipe up excess glue
- Popsicle sticks, small piece of flat wood or a printing brayer (like a mini rolling pin) for smoothing out the bubbles, wrinkles and excess glue.
- Paper, be it cut outs from magazines or images that you have printed (like I did) newspapers, catalogs, books, printed clip art, wrapping paper, greeting cards, fabric, tissue paper, lace, etc.
- Scissors or utility knife
- A sheet of brown paper or plastic to work on.
- Sealer or varnish. Glue can be used as a medium, but you can also opt for polyurethane, spray acrylic, or other lacquers (all available at craft stores)
Step by Step Process
First wipe down the boxes with a dry cloth to make sure they are clean.
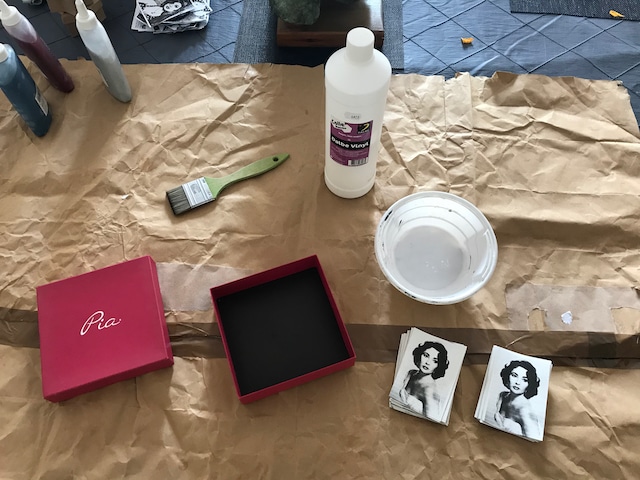
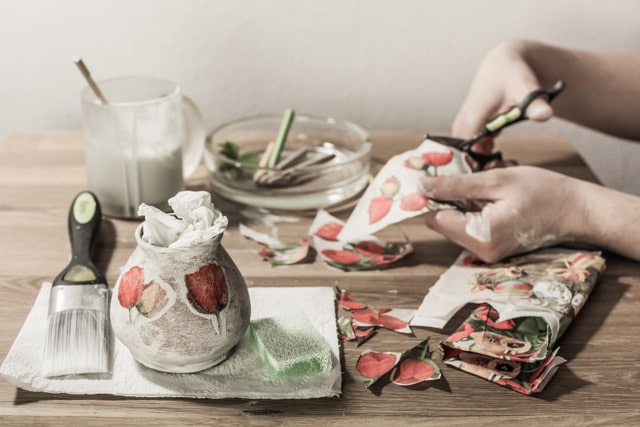
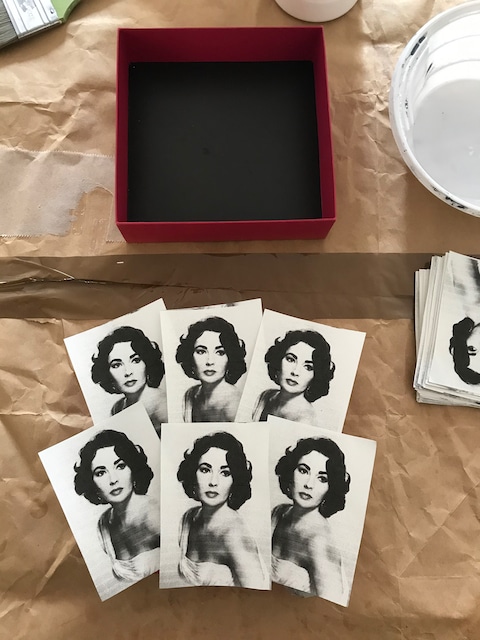
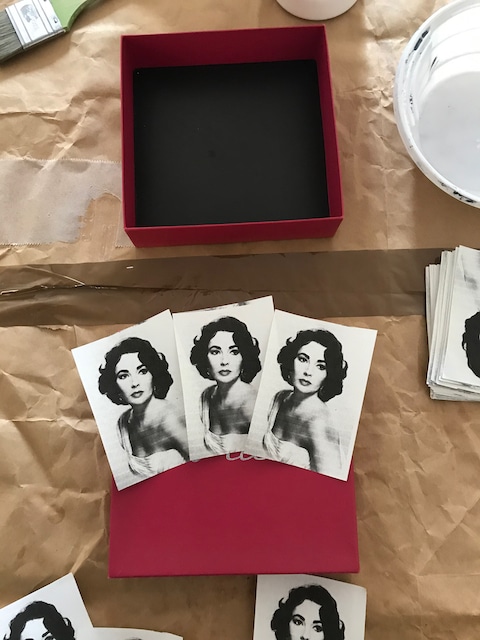
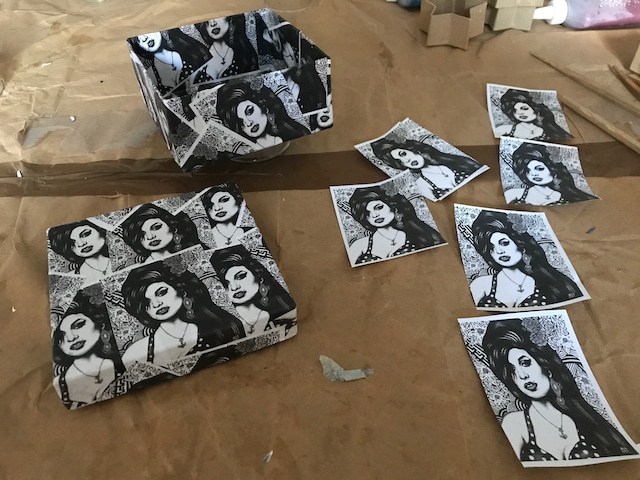
Cut out your pictures
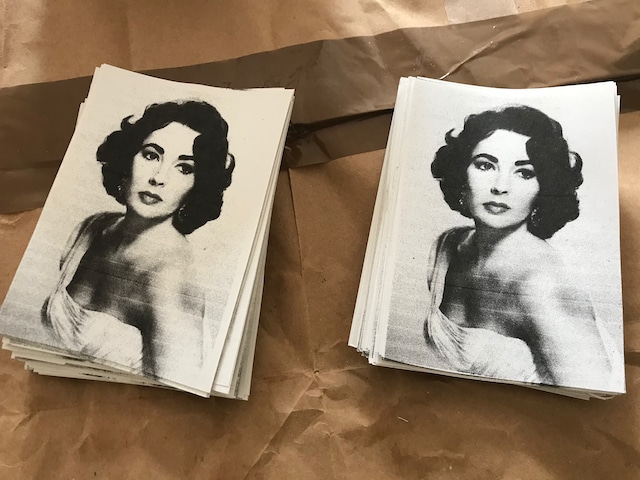
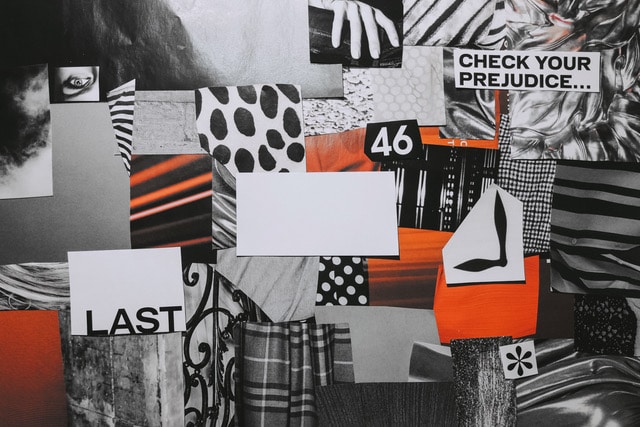
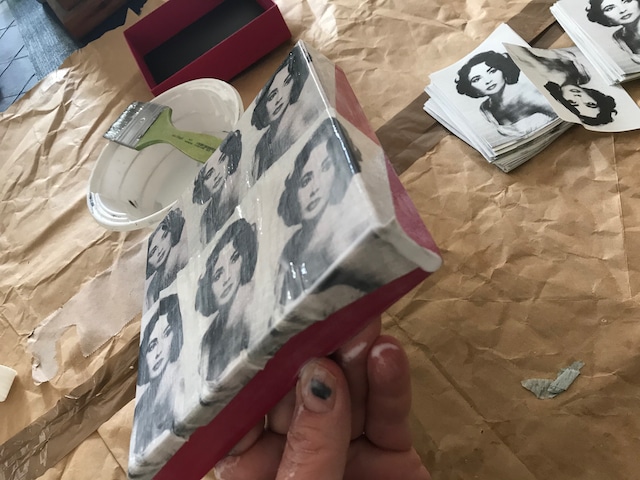
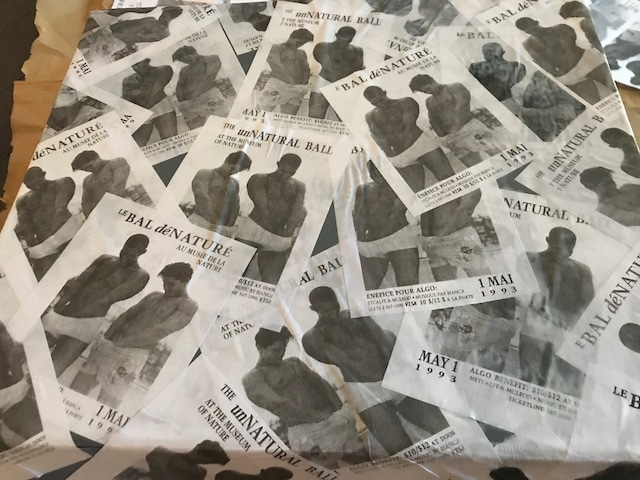
Arrange the pictures on your item. They should overlap to cover the item completely. Here I am using a black and white print of Elizabeth Taylor.
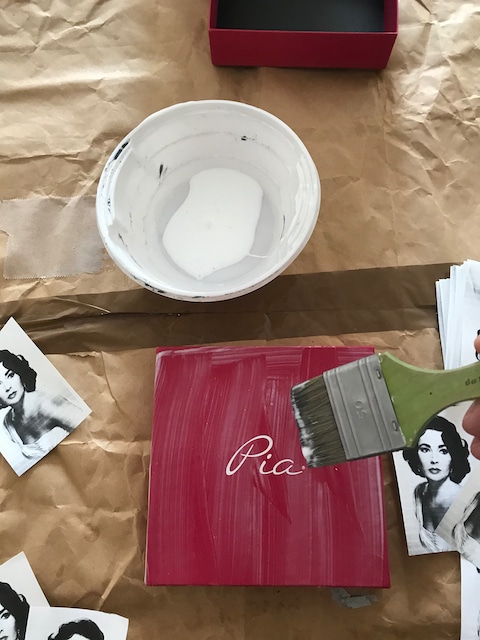
Beginning on the sides of the box, paint on the glue.
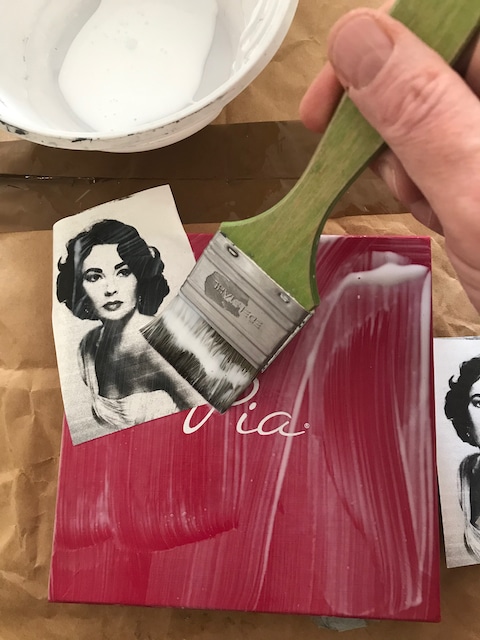
Coat the back of the picture completely
Add the pieces of paper, one at a time, in rows to create a pattern.
Paint over with the glue.
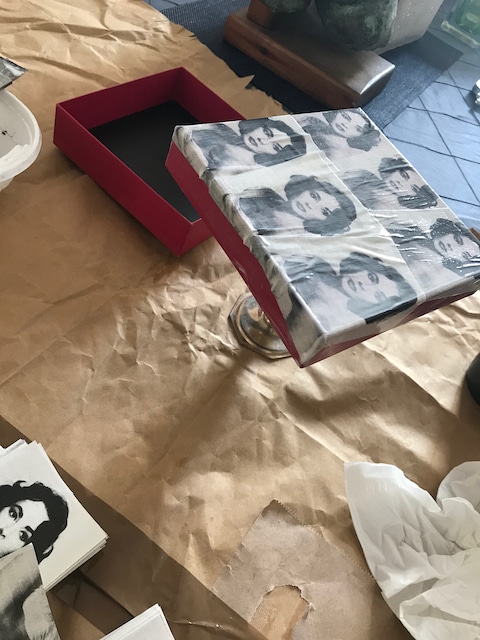
Using a popsicle stick or roller be sure to press it down to push out any bubbles. Move on to the next side.
Use your brush gently push the picture down (for a large picture, start from the center and work your way out) and push out any wrinkles and excess glue.
Continue with the last 2 steps until all your pictures are glued on. Let the glue dry. (NOTE: It is very important to allow the glue to dry completely; otherwise, your pictures may warp). Coat your item completely with diluted white glue (approximately three parts glue to one-part water) or another decoupage medium. Let this dry completely.
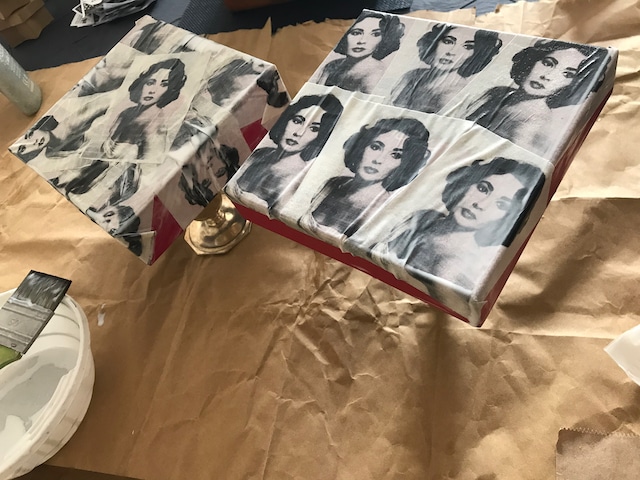
Continue to add coats of the glue or another sealer (polyurethane, acrylic spray, etc.) until the edges of the pictures are smooth.
The reasons for the popularity of decoupaging is not hard to understand. You do not need very many tools and all of the materials are inexpensive and easily available. Everyone can do it and with only a slight amount of practice and instruction anyone can make something beautiful.
Voila! Creating a fun and personal piece of artwork for your home has never been so simple and fun. Stay safe and #stayathome.
Vivre ma France,

4 Comments
Receive the news in your emailbox
If you like this articles , you can subscribe to our weekly newsletter.
Fantastic! I had no idea.
Thanks Charles ! I trust you and your family are okay.
Cheers
Leo
So inspired! Going to decoupage my Quality Street tin! Thanks, Leo!
Hey Mandana
Great idea! Be careful with putting too much paper on the edge of the lid, as the tin might not close well.
Send me a photo when it is done too !
Miss you
Stay safe and #stayathome
Bises
Leox